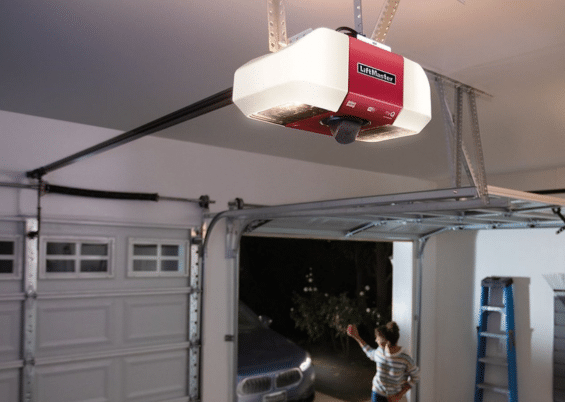
Learn how adjusting a LiftMaster garage door opener improves safety, performance, and smooth operation at home.
If your garage door opens too far, refuses to close entirely, or suddenly reverses without warning, you’re likely dealing with one of the most common issues affecting automatic garage systems. These problems can be frustrating, but they often point to a single solution: adjusting a LiftMaster garage door opener. This fine-tuning is essential to restore proper alignment, enhance functionality, and maintain the safety features built into your system.
Guardian Fence and Doors provides expert support and dependable service for homeowners who aren’t sure where to begin. Their technicians specialize in diagnosing opener issues and making precise adjustments that extend the life of your equipment. While some may choose to troubleshoot independently, understanding the basics of adjusting a LiftMaster garage door opener can make all the difference. Small tweaks, from setting travel limits to adjusting force sensitivity, can significantly improve performance and peace of mind.
What Does Adjusting a LiftMaster Garage Door Opener Involve?
Adjusting a LiftMaster garage door opener typically involves modifying key settings: the travel limits, the force level, and the safety sensors. Each one controls how far and forcefully the door moves during opening and closing.
These settings are not just about convenience; they directly affect how safely and efficiently your garage door operates. When properly adjusted, your LiftMaster opener ensures that your door seals shut, doesn’t slam, and responds correctly to obstacles in its path.
Why Improper Settings Can Cause Problems
- The door may stop before reaching the ground or open too far upward.
- It could immediately reverse after hitting the floor or fail to close completely.
- You might hear grinding noises, feel extra vibration, or see jerky motion.
- Doors that don’t close entirely leave your home exposed to security risks.
- Motors and springs can experience added strain, shortening their lifespan.
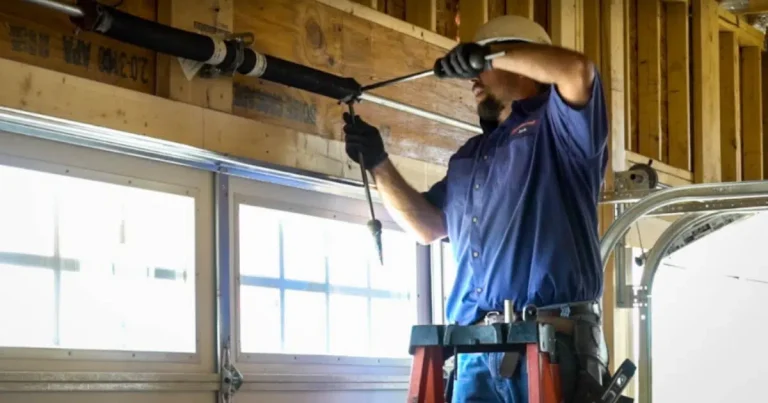
Before You Begin: Safety and Preparation
Before adjusting a LiftMaster garage door opener, make sure to follow proper safety precautions. These openers are powerful machines, and incorrect handling can result in injury or system damage.
Start by disconnecting the unit’s power. Unplug it from the ceiling outlet or switch off the circuit breaker. This prevents the motor from activating unexpectedly during adjustments.
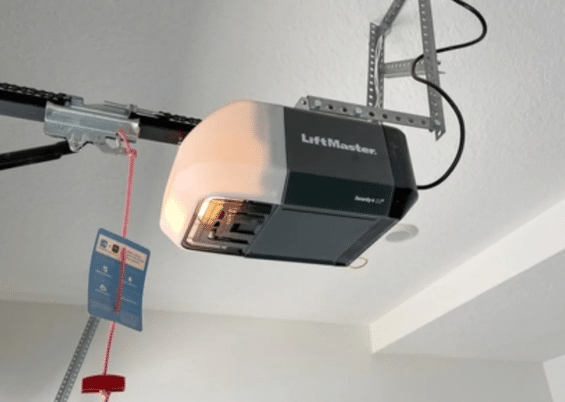
You’ll also need a step ladder, a flathead screwdriver (for some models), and a flashlight. Most LiftMaster units have clearly labeled adjustment dials or buttons on the motor housing, often located near the back or side panel.
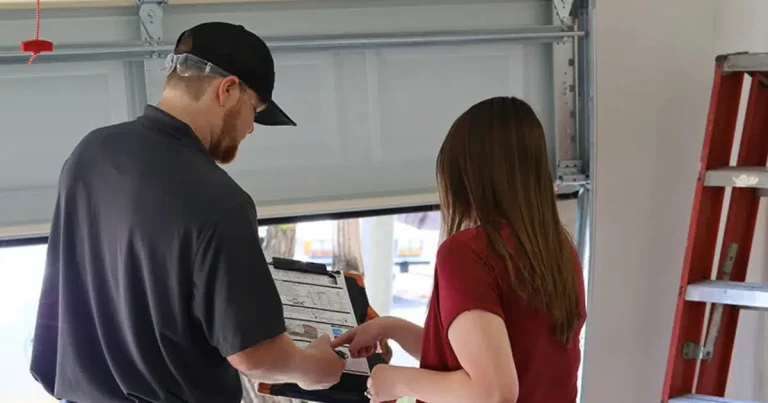
When to Contact Guardian Door & Gates First
Some opener issues may require expert attention right away. Contact Guardian Door & Gates if:
- The door jerks violently or won’t respond at all to the opener.
- You hear grinding or clicking noises from the unit.
- Your system is more than 10 years old or has been previously modified.
- You’re unsure whether the problem stems from the opener or the door hardware itself.
Attempting complex adjustments on a damaged or outdated unit can worsen the issue. Our trained team can precisely diagnose and resolve electrical and mechanical concerns.
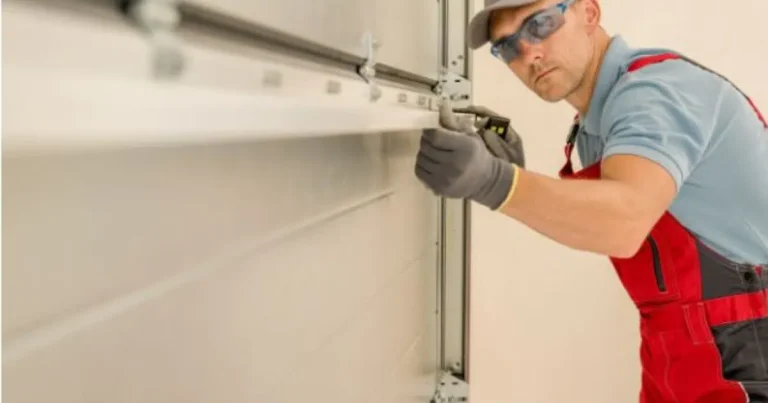
How to Adjust the Open and Close Travel Limits
The travel limits tell your LiftMaster opener how far the door should move in either direction. Adjusting these settings can restore balance if your door doesn’t reach the ground or opens too far.
Step-by-Step Adjustment Process:
- Locate the Adjustment Screws or Buttons: On most LiftMaster units, these are marked “Up” and “Down” or labeled “Travel.”
- Adjust the “Down” Setting First: Turn the screw clockwise to increase how far the door closes. Counterclockwise shortens the distance.
- Adjust the “Up” Setting: This controls the door’s length. Use the same method—clockwise to extend, counterclockwise to shorten.
- Make Small Changes: Move the screw in quarter-turn increments, then test the door.
- Restore Power and Test: Reconnect power and use your remote to test a full open/close cycle.
Testing the Adjustments Safely
After adjusting a LiftMaster garage door opener, always run a complete cycle to observe how the door behaves. Check that:
- The door sits flat on the ground without leaving gaps.
- The top of the door aligns well with the header when open.
- The safety reversal sensors still work correctly; wave an object in their path to test the response.
If any issues remain, don’t overcompensate with the dials. It may be time to inspect other settings or call a professional.
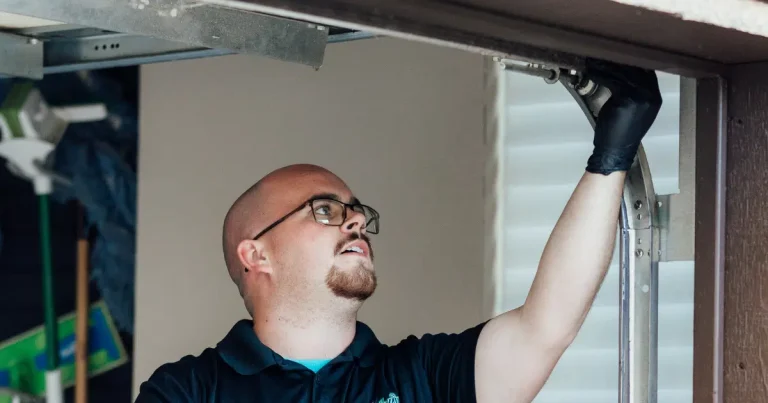
Fine-Tuning the Force and Sensitivity Settings
The force settings determine how much power the motor uses to lift and lower the door. Over time, these may require adjustment due to weather changes, age, or resistance in the tracks.
If your door struggles to open or close, or reverses partway through a cycle, it may be due to incorrect force settings. How to Adjust Force Settings:
Locate the Force Adjustment Dials
These are usually labeled “Open Force” and “Close Force.”
Make Small Increments
Increase or decrease force slowly; too much can overpower the safety sensors.
Test Responsiveness
Run cycles and make sure the door doesn’t slam or stop abruptly.
Don’t Ignore Safety
Force settings that are too high can prevent the door from reversing when something is in the way.
If you’re uncertain whether to raise or lower the force or notice the door hesitating midway, contact Guardian Door & Gates for a safe, thorough inspection.
Guardian Door & Gates: Your Local Expert for Opener Calibration
Adjusting a LiftMaster garage door opener is not just about dialing in the correct settings; it’s about ensuring the entire system works harmoniously. That’s where Guardian Door & Gates stands out.
Our team performs comprehensive opener inspections that include:
- Calibrating travel and force limits
- Testing safety sensor alignment
- Diagnosing mechanical resistance or door imbalance
- Offering opener upgrades when systems are outdated
We follow all manufacturer guidelines and local code requirements to keep your garage door opener functioning safely and reliably. With years of hands-on experience, we’re the trusted partner homeowners turn to when adjustments aren’t enough.
Preventative Tips for Long-Term Performance
Once your LiftMaster opener is adjusted correctly, you’ll want to keep it that way. Here are some tips from Guardian Door & Gates to extend the life of your garage door system:
Schedule Annual Tune-Ups
A yearly checkup ensures everything stays aligned and responsive.
Keep Tracks Clean and Lubricated
Dirt or rust buildup adds resistance, throwing off balance.
Monitor for Spring Wear
Weak or stretched springs put added strain on the opener.
Watch Cable Tension
Frayed or slack cables can lead to misalignment or sudden jerking.
A little attention today can prevent costly repairs tomorrow.
FAQ: Adjusting a LiftMaster Garage Door Opener
How to adjust the force on a garage door opener with manual adjustment screws?
To adjust the force on a garage door opener, locate the force adjustment screws on the opener’s housing. Turn the “up” or “down” screw clockwise to increase force, counterclockwise to decrease. Make minor adjustments, testing the door after each change to avoid excessive pressure or safety issues.
How do you adjust a lift-up garage door?
To adjust a lift-up garage door, inspect the spring tension and pivot brackets. If the door is difficult to open, slightly increase the spring tension. If it opens too quickly or forcefully, reduce the tension to slow it down. Lubricate moving parts and ensure all fasteners are secure to maintain safe and smooth operation.
How do you align a LiftMaster garage door opener?
To align a LiftMaster garage door opener, check that the safety sensors near the floor are facing each other and that their LED lights are solid. If they are misaligned, adjust their angle until the lights stay on steadily. Ensure the door track is straight and the opener rail is adequately secured.
How do you set up a LiftMaster opener?
To set up a LiftMaster opener, mount the motor unit to the ceiling and attach the rail and trolley. Connect the door arm, safety sensors, and wall control. Plug in the unit, then program the travel limits and remote. Follow the manufacturer’s instructions for safe and correct installation.
Conclusion
Guardian Door & Gates understands that adjusting a LiftMaster garage door opener can be frustrating, especially when the system won’t close properly or stops unexpectedly. Leaving these issues unresolved can lead to safety concerns and costly repairs. With the right adjustments, your opener will function smoothly again, protecting your home, vehicle, and peace of mind.
If unsure where to begin, don’t risk damaging your garage system by guessing. Guardian Door & Gates offers expert help adjusting a LiftMaster garage door opener, whether it’s sensor alignment, travel limit settings, or door balance. Our friendly team ensures your door operates safely and reliably, because you deserve dependable service from a name you can trust.
End Note
Guardian Door & Gates is committed to delivering expert solutions for every part of your garage door system, from trusted opener brands like LiftMaster to premium replacement doors from Clopay. Whether you’re seeking garage door repair, custom transformations, or simply want to learn more about our company, our team brings decades of hands-on experience and dedication to your home. Explore our official website to view our services, values, and full capabilities. We also specialize in gate automation and residential fencing, designed with both security and style in mind. See what homeowners say about us on our testimonials page or reach out directly through our contact form. For the latest updates and community work, visit our Facebook page. Whatever your vision or concern, Guardian Door & Gates is ready to help you move forward with confidence and care.