Garage door sensor lights use color to communicate the exact condition of your safety sensors at any given moment. Each color has a specific meaning, and reading those colors correctly helps homeowners catch problems early before they turn into a full garage door repair.
The color displayed on your garage door sensor lights indicates whether the sensors are aligned, whether the infrared beam is active, and whether your door is actually protected. Understanding what each color means gives homeowners a real advantage in keeping their garage door system running without interruption.
What Are Garage Door Sensor Lights and How Do They Work?
Garage door sensor lights are small indicator lights mounted at the base of your garage door that show whether your sensors are connected, aligned, and actively protecting the door’s path.
Here is how garage door safety sensors work:
- Two sensors sit on opposite sides of the garage door, one sending and one receiving
- The sending sensor produces an infrared beam of light that travels across the opening
- The receiving sensor catches that invisible beam on the other side of the door
- When something blocks the beam, the opener stops or reverses the door immediately
- The sensor lights then change color to signal whether the beam is active or disrupted
To understand the full pattern behind why sensor lights change color, read our guide on Common Garage Door Sensor Lights Problems to Know, which covers the most frequent issues homeowners run into before a complete system failure.
What the Colors of Garage Door Sensor Lights Actually Mean
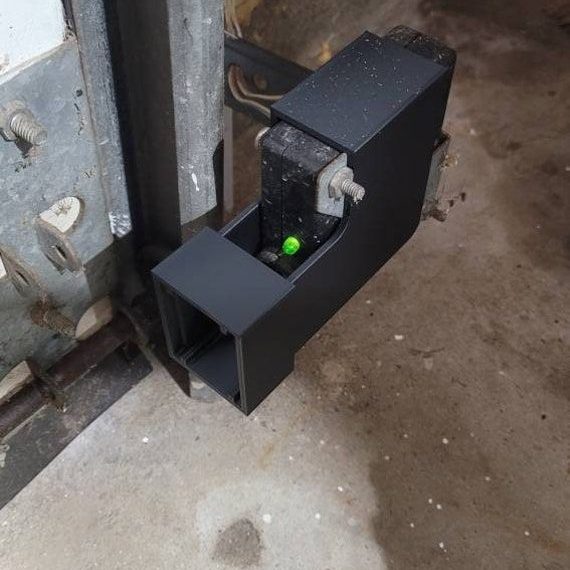
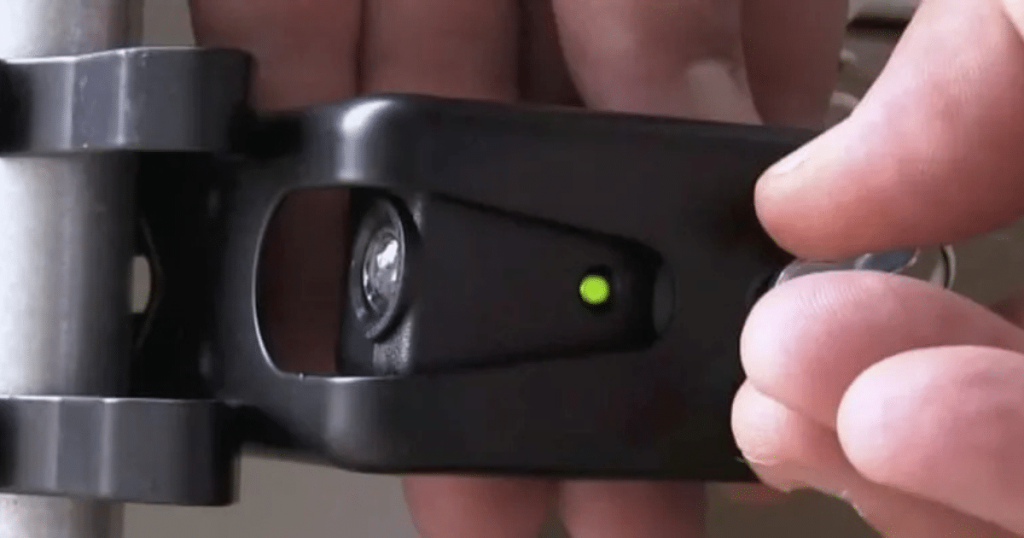
Green Light
A solid green light on the receiving sensor confirms the infrared beam is active and the door is ready to operate normally.
Signs the green light is working as expected:
- The steady green glow stays constant on the receiving sensor at all times
- Both sensors face each other without any visible shift in position
- The door completes each closing cycle without stopping or reversing mid-way
- No flickering occurs during opening or closing
- Opener runs each cycle without triggering any error response
A solid green light is the clearest confirmation that your sensor system is doing its job correctly.
Yellow, Amber, and Orange Light
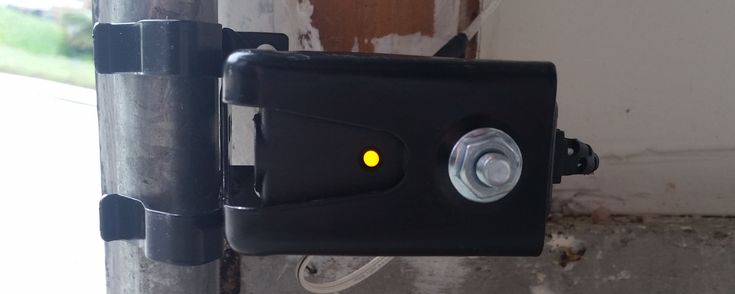
Solid yellow, amber, or orange on the sending sensor means the unit is powered and actively transmitting the infrared beam.
Normal behavior to expect from the sending sensor:
- A steady amber or yellow glow remains visible on the sending sensor during operation
- Garage door sensor yellow light stays constant without flickering between cycles
- The garage door sensor orange light behaves identically on compatible models
- The door opens and closes without hesitation when both sensors show solid colors
- No error codes appear on the opener during normal daily use
A solid color on the sending sensor indicates the infrared signal is leaving the unit without interruption.
Red Light
Red indicator lights are used by specific brands as the standard active-status color, and reading them correctly prevents unnecessary misdiagnosis.
Key facts about red sensor lights:
- Brands like Genie use red as a normal operating color on one or both sensors
- Solid red means the sensor is powered and functioning within normal parameters
- Misreading a normal red light as an error leads to unnecessary service calls
- Always cross-reference the indicator color with the opener’s original manual
- Red behaves the same way green or yellow does on other brand models
Confirming what red means on your specific model is the fastest way to avoid acting on a false alarm.
Blinking or Flashing Lights
Blinking sensor lights signal that something is interrupting the infrared beam or preventing the sensors from holding a stable connection.
Common triggers behind a blinking light:
- Misalignment between the two sensors breaks the beam without any physical obstruction
- Dirt or debris on the sensor lenses scatters the infrared signal during operation
- An obstruction in the door’s path keeps the beam from completing the circuit
- Flashing orange or yellow can point to a power fluctuation or a backup battery issue
- Loose wiring at the terminal disrupts the signal and triggers a blinking response
Blinking lights rarely stop on their own and almost always indicate a condition that requires direct attention.
No Light
No light on either sensor points to a power or wiring problem that has cut the connection between the sensor and the opener.
Possible reasons a sensor shows no light:
- Power supply to the opener has been interrupted by a tripped breaker or blown fuse
- Wiring running from the sensor to the opener has been damaged or disconnected
- Moisture or water damage has compromised the internal sensor components
- Physical impact on the sensor housing has broken the internal connection
- The sensor has reached the end of its lifespan and no longer receives any signal
No light on a sensor indicates a broken safety circuit, and the door should not be operated until the issue is identified.
Why Understanding These Colors Actually Matters
Garage door sensor lights are a direct window into the health of your entire garage door safety system.
Reasons every homeowner should pay attention to sensor light colors:
- Wrong colors or blinking lights are the earliest warning of a shift, blockage, or failure
- A malfunctioning sensor leaves the door blind to people, pets, or objects in its path
- Early detection through indicator lights reduces the need for sensor repairs down the line
- Sensor light behavior gives professionals an accurate starting point for diagnosis
- Consistent attention keeps the overall garage door system performing at full capacity
Knowing what each color means puts homeowners in control of their garage door safety before a technician ever needs to get involved.
Common Reasons Your Garage Door Safety Sensor Changes Color
Several conditions directly affect how garage door sensor lights behave, and most color changes can be traced back to a handful of recurring causes.
Most frequent reasons sensor lights change color or start blinking:
- Bracket misalignment shifts sensors out of position and breaks the infrared beam
- Dirt or cobwebs on the lenses scatter the signal and trigger a color change
- Loose or damaged wiring between the sensor and opener disrupts the safety circuit
- Direct sunlight on the receiving sensor interferes with the infrared beam
- Moisture or humidity corrodes sensor components and causes irregular light behavior
Ignoring these changes long enough can turn a minor sensor issue into an emergency garage door repair that could have been avoided with an early inspection.
How to Troubleshoot Your Garage Door Sensor Lights
Garage door sensor troubleshooting starts with a few simple checks that most homeowners can work through before calling a professional.
Basic steps to troubleshoot garage door sensor lights at home:
- Check both sensors and confirm the lights are solid, not blinking
- Wipe the lenses with a dry cloth and clear any cobwebs around the housing
- Trace the wiring to the opener and look for frayed or disconnected sections
- Adjust the sensor bracket until the light turns solid, then retighten and retest
- Place an object in the door’s path and confirm the auto-reverse is working
To go beyond basic checks, read our guide on How to Fix Garage Door Sensor Lights That Fail, which covers the repairs professionals handle when simple troubleshooting falls short.
When to Call a Professional for Garage Door Sensor Repair
Some sensor problems go beyond what a basic inspection can resolve, and recognizing those signs early prevents further damage to the entire system.
Clear signs it is time to call a professional:
- Sensor lights remain off even after checking the power supply and wiring connections
- Realigning the sensors multiple times has not stopped the blinking
- The door closes without reversing when an object is placed in its path
- Visible damage to the sensor housing, brackets, or wiring is present
- Error codes on the opener persist after every reset attempt
A professional technician can accurately diagnose sensor faults and determine whether garage door opener repair is also needed before the problem affects the full system.
Should You Repair or Replace Your Garage Door Sensor Lights?
The condition, age, and repair history of your sensors determine whether a fix is enough or a full replacement is the better call.
| Factor | Repair | Replace |
| Sensor age | Less than 5 years old | More than 10 years old |
| Physical condition | Intact housing, no visible damage | Cracked, corroded, or water-damaged |
| Repair history | First-time issue | Repeated failures |
| Wiring condition | Loose but intact | Frayed, chewed, or severely corroded |
| Compatibility | Still matches the current opener | Incompatible with newer opener |
| Cost consideration | Minor adjustment or cleaning needed | Parts no longer available, or the cost exceeds the value |
To weigh both options with a clearer picture of long-term costs and warning signs, read our guide on When to Replace Your Garage Door Sensor Lights, which breaks down exactly when replacement becomes the smarter investment over repeated repairs.
How to Maintain Your Garage Door Sensor Lights
Regular maintenance on your garage door sensor lights is the most practical way to extend their longevity and avoid unexpected sensor problems.
Simple maintenance habits every homeowner should practice:
- Wipe the sensor lenses with a dry cloth at least once a month
- Check bracket alignment on both sensors and retighten any loose hardware
- Clear cobwebs and debris around the sensor housing after storms or yard work
- Inspect the wiring connections at the opener twice a year for signs of wear
- Test the auto-reverse feature monthly by placing an object in the door’s path
Consistent upkeep keeps your garage door safety sensors working at full capacity and reduces the likelihood of needing professional assistance down the line.
Read Your Garage Door Sensor Lights Correctly to Keep Your Door Protected
Every color your garage door sensor lights display is a direct signal about the condition of your entire safety system and should never be ignored. Taking the time to understand what each color, blink, or outage means puts you in a much stronger position to protect your home and your garage door investment.
Guardian Door and Gate proudly serves homeowners across St. Louis, MO with expert sensor inspections, accurate diagnostics, and complete garage door system evaluations. Contact us or give us a call today, and let our team pinpoint exactly what your sensor lights are communicating and restore your system to full working order.
Frequently Asked Questions
What does it mean when the garage door sensor light is blinking?
A blinking light means the sensors are out of alignment, the lenses are dirty, or something is blocking the infrared beam. Checking alignment and cleaning the lenses are the first two steps.
How can I fix a garage door sensor if the light is not turning on?
Start by checking the power supply and inspecting the wiring connections at both the sensor and the opener. If the light still does not come on after that, the sensor may need to be replaced, and we recommend calling our team for a proper assessment.
What steps should I follow to wire the garage door sensor lights to the opener?
Each sensor connects to the designated terminals on the opener via color-coded wires that match the unit's labels. If you are not confident working with wiring, our technicians are available to handle the installation correctly and safely.
How do I reset the garage door sensor lights if they stop working?
Unplug the garage door opener from the power outlet, wait thirty seconds, then plug it back in to reset the system. If the sensor lights do not return to normal after the reset, a deeper inspection is needed.
What is the difference between sending and receiving sensor lights on a garage door?
The sending sensor transmits the infrared beam and typically shows a yellow or amber light. The receiving sensor catches the beam and typically displays a solid green light to confirm the connection is active.
How much does it usually cost to repair garage door sensor lights?
Garage door sensor repair cost varies depending on the extent of the damage, the brand of the opener, and whether the sensor needs a simple adjustment or a full replacement. Getting a professional inspection is the most accurate way to determine what your specific situation requires.
Are there replacement kits available for garage door sensor lights?
Yes, most major brands, including LiftMaster, Chamberlain, and Genie, offer replacement sensor kits compatible with their systems. These kits typically include both the sending and receiving sensors along with all necessary mounting hardware.
What are common reasons garage door sensor lights fail?
The most common causes include misalignment, dirty lenses, wiring issues, physical damage, and interference from direct sunlight. In St. Louis, seasonal weather changes also contribute to sensor problems throughout the year.
Can I install garage door sensor lights myself, or should I hire a professional?
Basic tasks like cleaning the lenses and checking alignment are manageable on your own. Replacing sensors or handling wiring is something we strongly recommend leaving to professional technicians to avoid affecting the system's full functionality.